Music video lip sync starts before the camera rolls. Give everyone the same approved song file, play it at a consistent speed, and record a reference on each take. In the edit, align the reference to the master track and check the mouth at several points. A take can line up on the first word and still drift by the last chorus.
This guide focuses on the performance shoot and edit. For the earlier creative decisions, start with the music video treatment guide and artist shot list.
Prepare one playback master
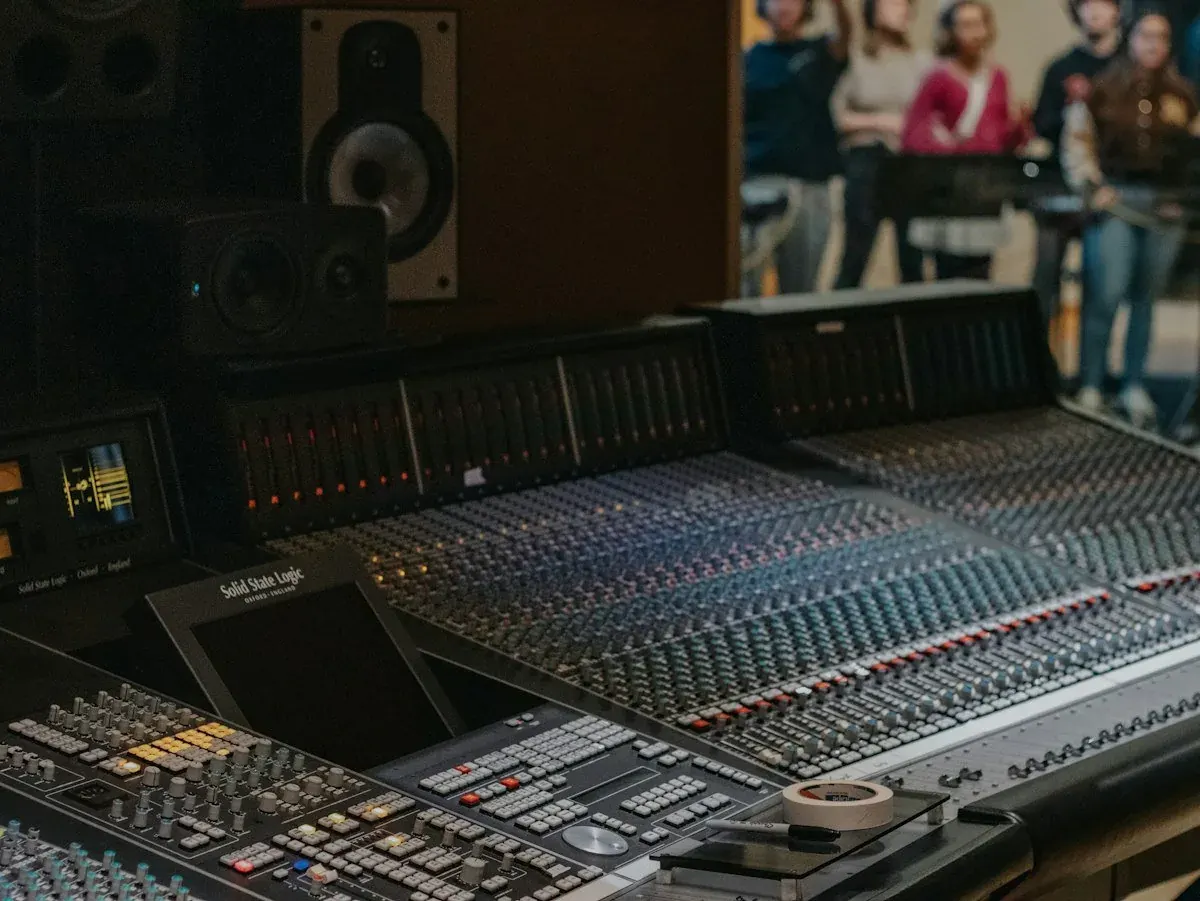
Choose a single approved mix and name it so nobody can mistake it for an older version. A file called Artist_Song_Playback_v04.wav gives the crew something more useful than Final_New.wav. Write down the duration and record which file went to editorial. The lead vocal may enter slightly earlier in a radio edit, and a different ad-lib can make a good performance unusable for that line. Give performers the same version to rehearse with before shoot day.
Make cue copies from that master when you only need a verse or chorus. Keep enough lead-in for the artist to breathe and settle into the phrase. If you add a spoken count or click, place it ahead of the section and note how the cue maps back to the master. Keep the clean song separate so the cue never ends up in the release audio. On location, test speaker placement and confirm the performer can hear the phrasing without making the set uncomfortable.
Run a test before the first take. Record a short performance, play it back beside the master and confirm that the first and last phrases line up. That catches an incorrect playback file, muted scratch channel or frame-rate misunderstanding while there is still time to change the setup. Send the approved reference and cue notes with the footage, especially if the shoot changes hands between production and post.
Build coverage around the song
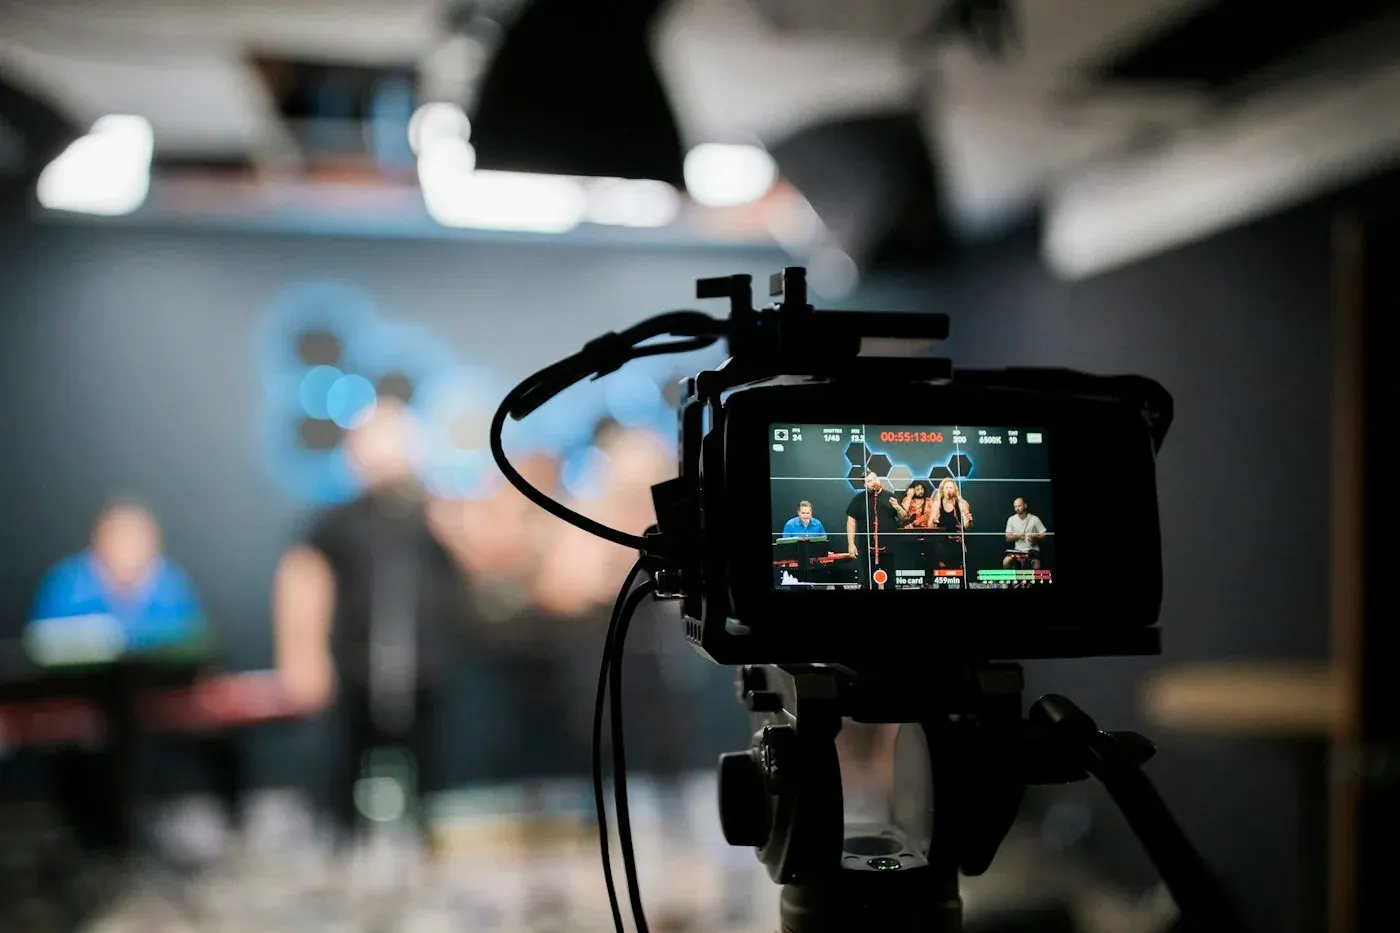
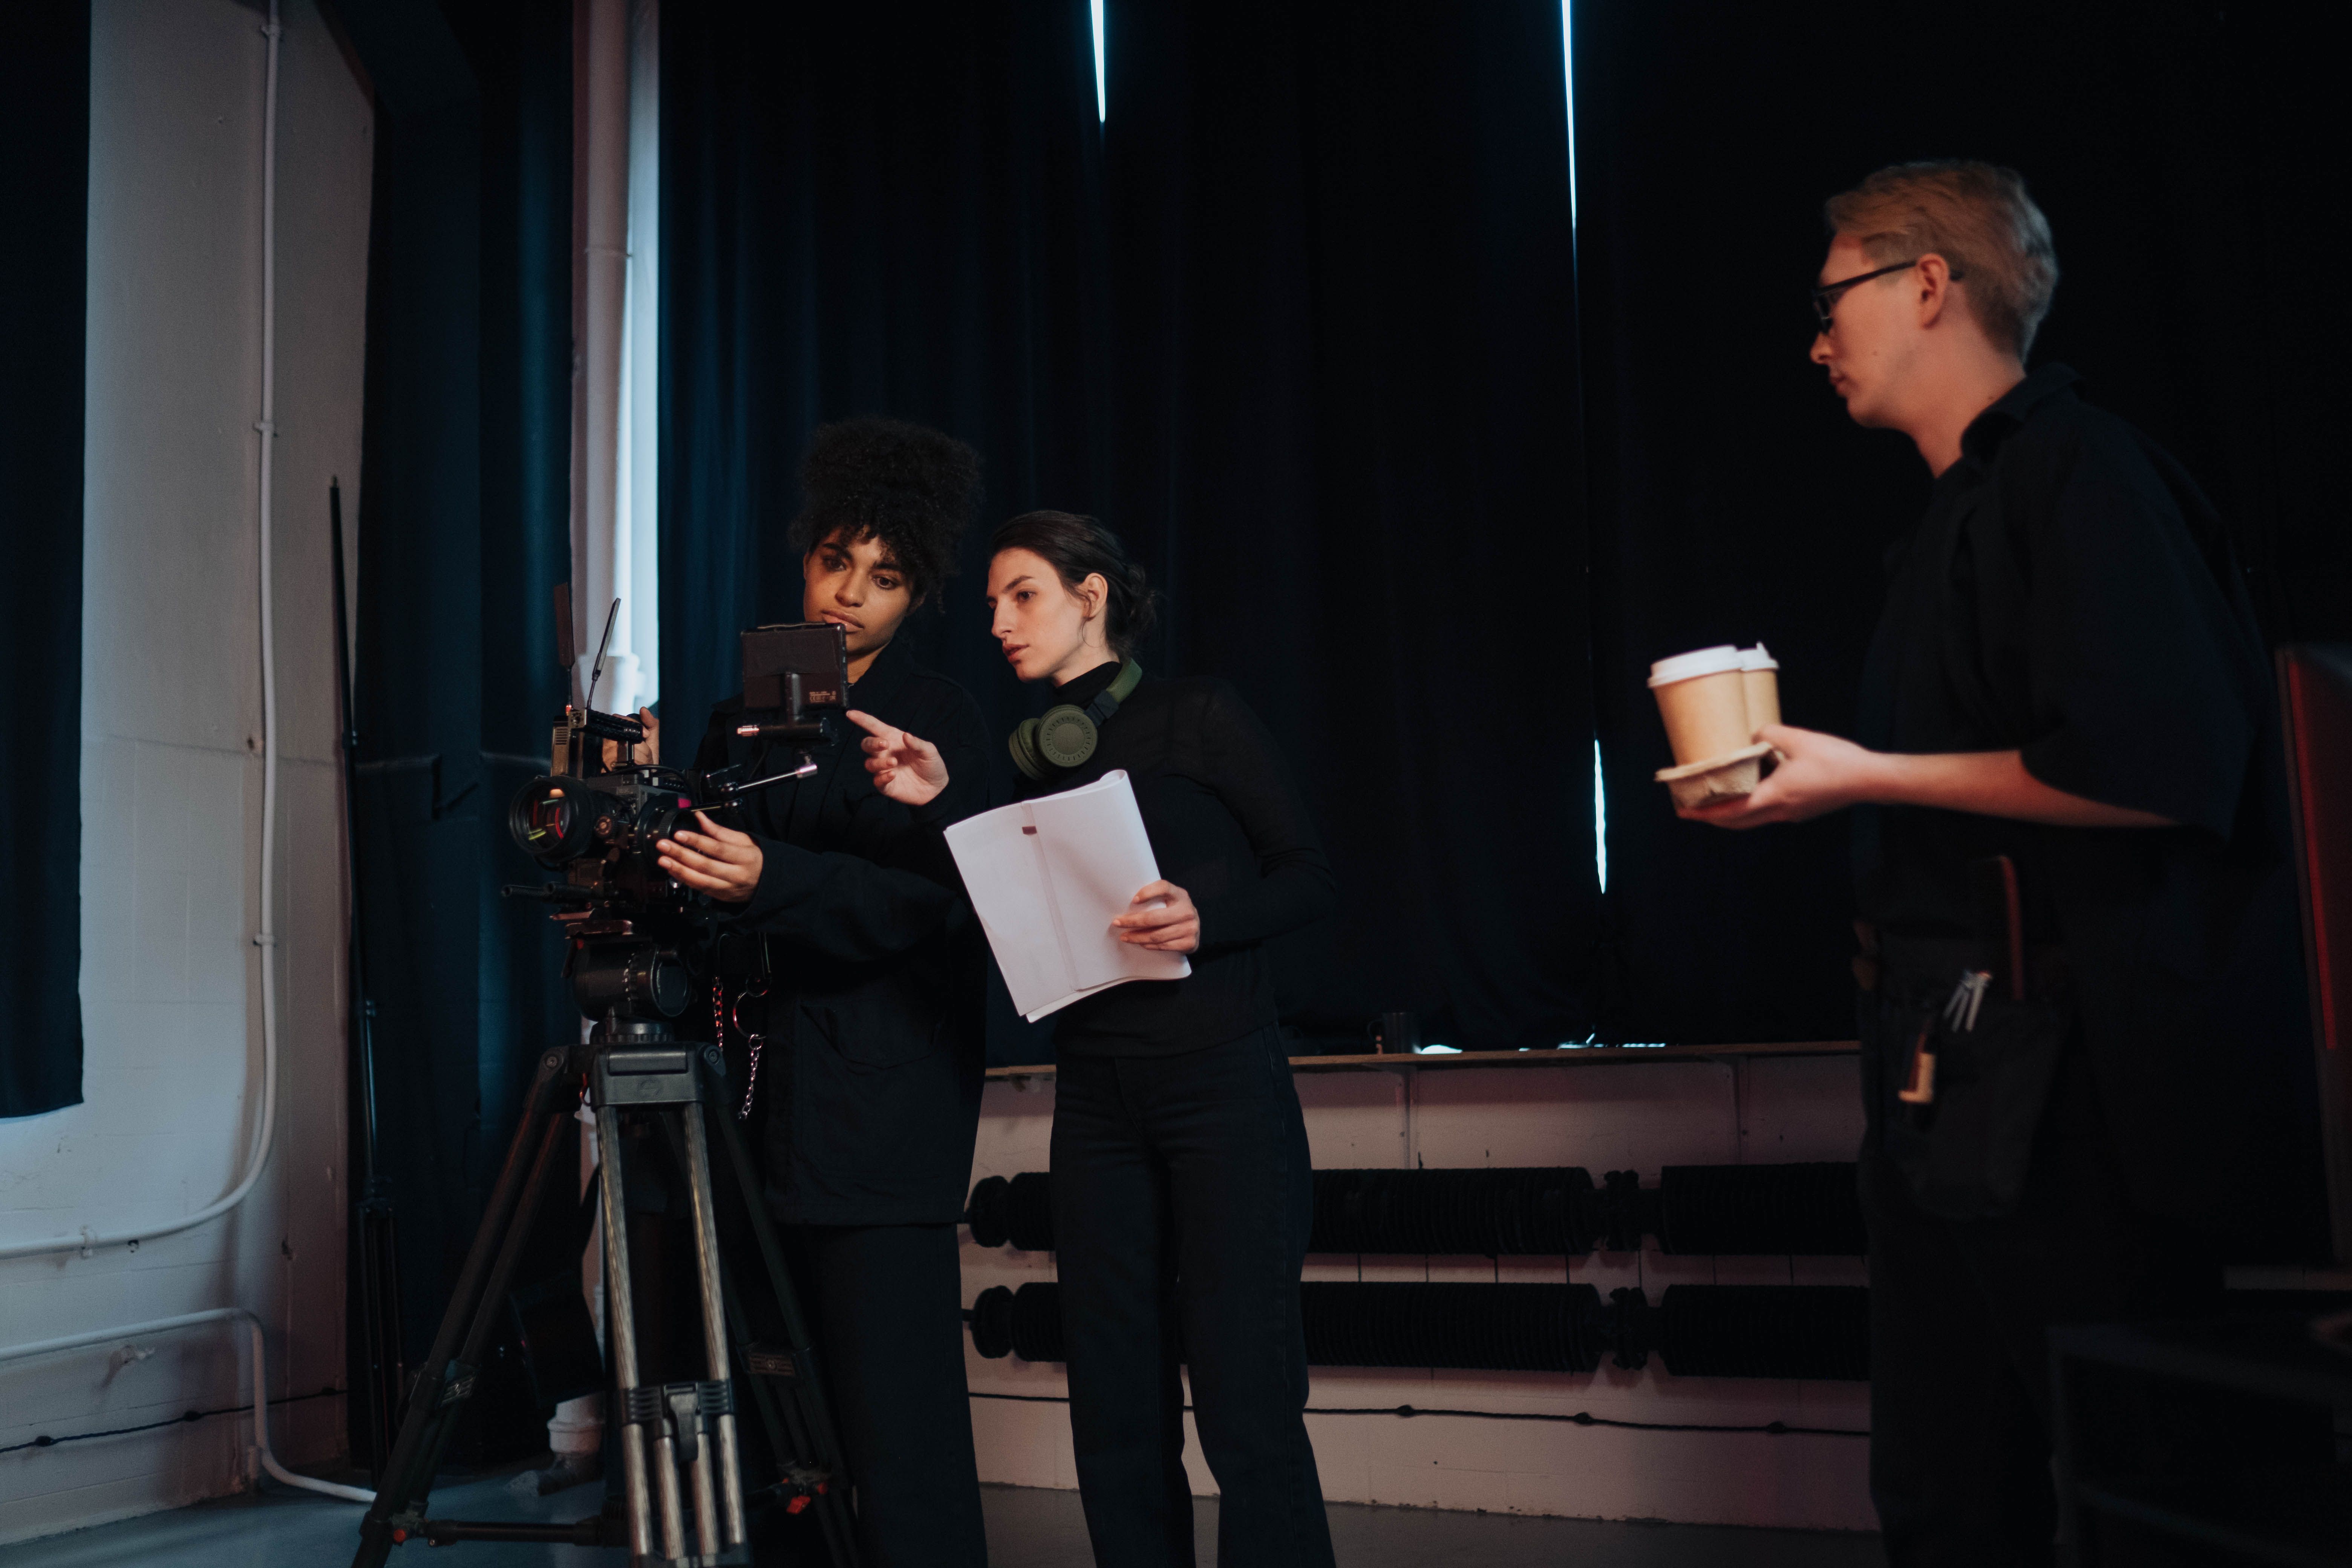
Start with a full-length performance when the location and schedule allow it. A stable wide or medium take gives the editor somewhere to return during difficult transitions. Then shoot close coverage for lines that matter, including entrances, lyrics that carry the story and the final chorus. Mark these passages by their words and music timecodes in the pre-production checklist, so everyone can find the same moment quickly.
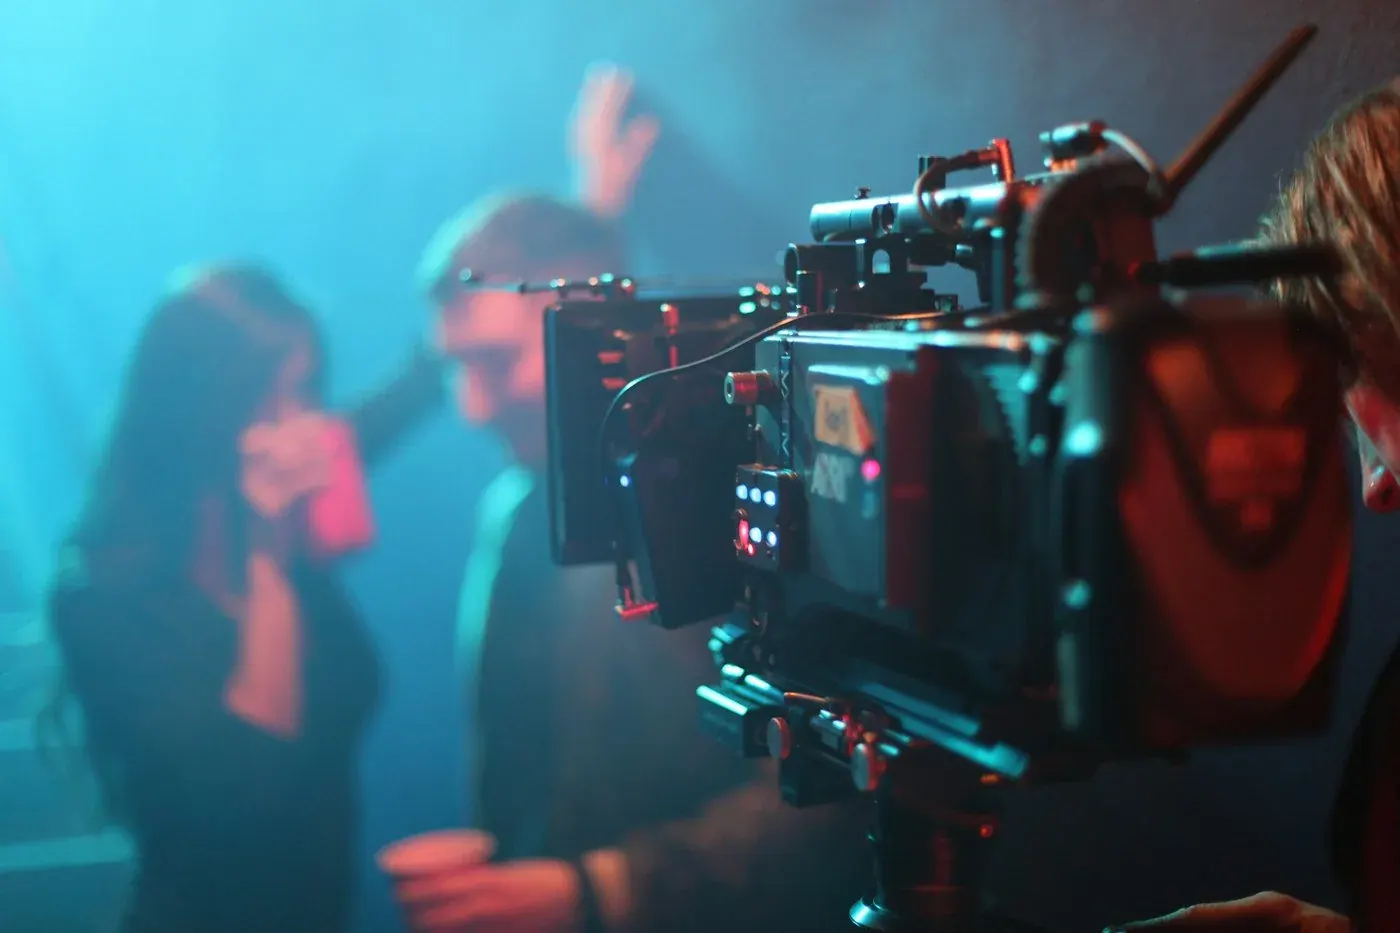
Let each take breathe. Keep rolling into and out of the selected phrase so the cut can land on the performer’s movement or expression. A perfectly synced word can still look wrong if the head turn, hand gesture or eyeline changes sharply across the cut. Capture non-singing moments too. A reaction, instrumental detail or environmental shot gives the edit a legitimate break from continuous performance.
For a group, decide whose mouth carries each lyric and whether backing vocals should be visible. Ask the camera operator to cover the correct performer when a line changes hands. If two people trade a line in the second chorus, shoot a version with both in frame before breaking into singles. For animation or a digital performer, use the same lyric map with the music video animation workflow so the animator knows which phonemes will be visible.
Capture a reference the editor can use
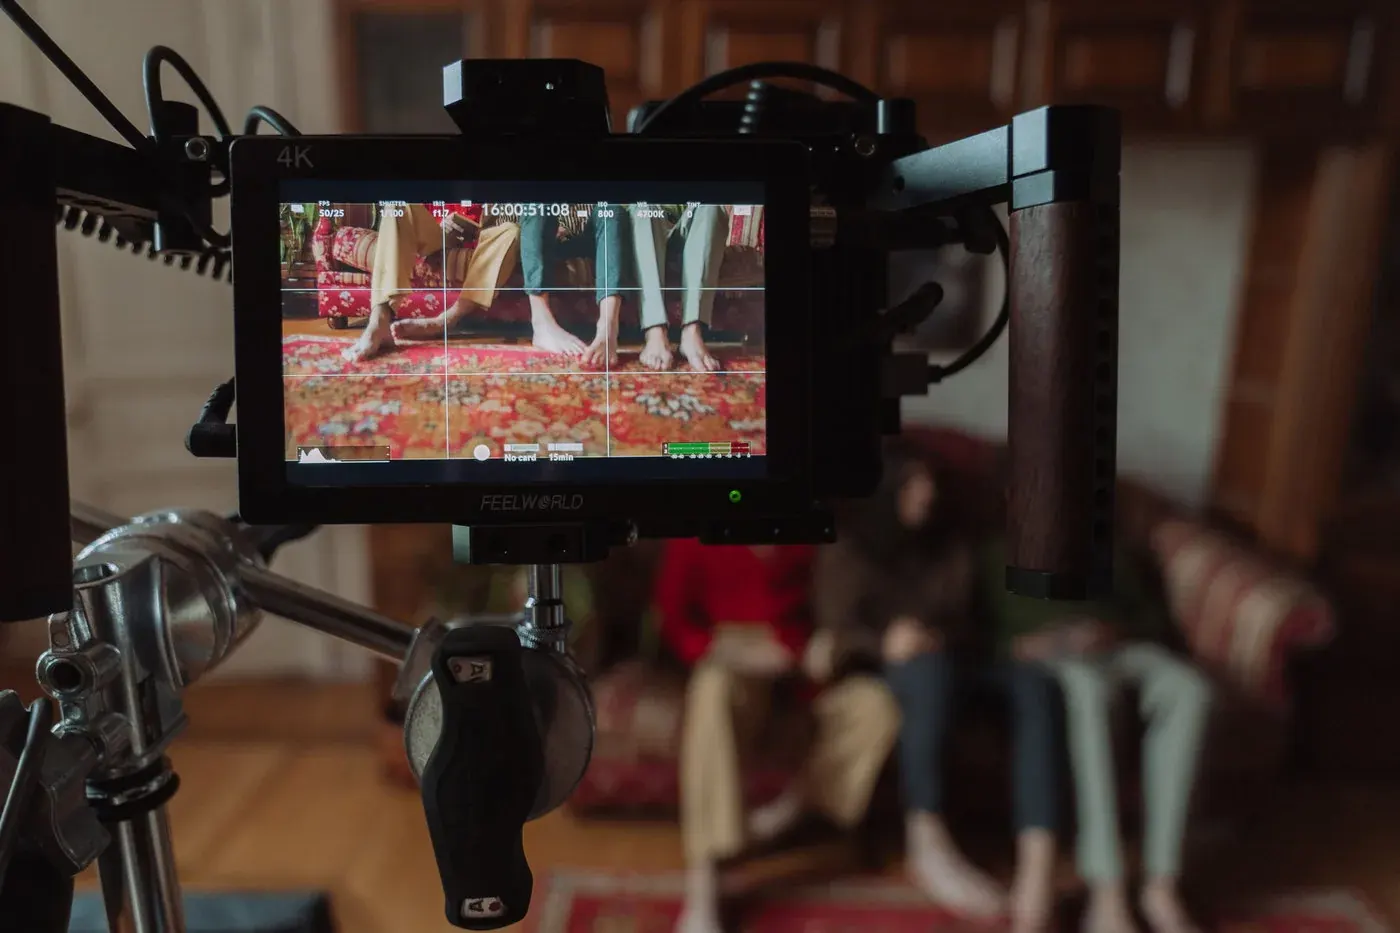
Scratch audio is a guide track. It helps the editor align the take and is normally replaced by the approved master in the final mix. Check that the camera or a paired recorder captures enough of the playback to identify the song, especially on a loud set. If headphones or in-ear monitoring keep the playback out of the camera mic, agree on another reference, such as a recorded feed, a visible cue or timecode where the setup supports it.
Slate the take and identify the cue before playback starts. A useful record includes the camera clip, setup, take number, song section and any playback-speed change. If the second camera was late to roll or the playback operator restarted mid-take, log that while everyone still remembers. Keep original clip names linked to the notes even if the project uses friendly names in the editor.
Test any planned slow-motion lip sync as a complete chain. Faster playback followed by slowed footage can create a slow-motion look while the lyrics line up, but only if capture rate, playback ratio and edit interpretation agree. For a simple 50 fps capture interpreted at 25 fps, a correctly prepared double-speed cue would restore the original lyric timing after the footage is slowed to half speed. Test with the actual settings and make sure the performer can deliver the phrase clearly at the new pace. Ordinary high-frame-rate footage is not automatically suitable for this effect.
Align the take and diagnose drift
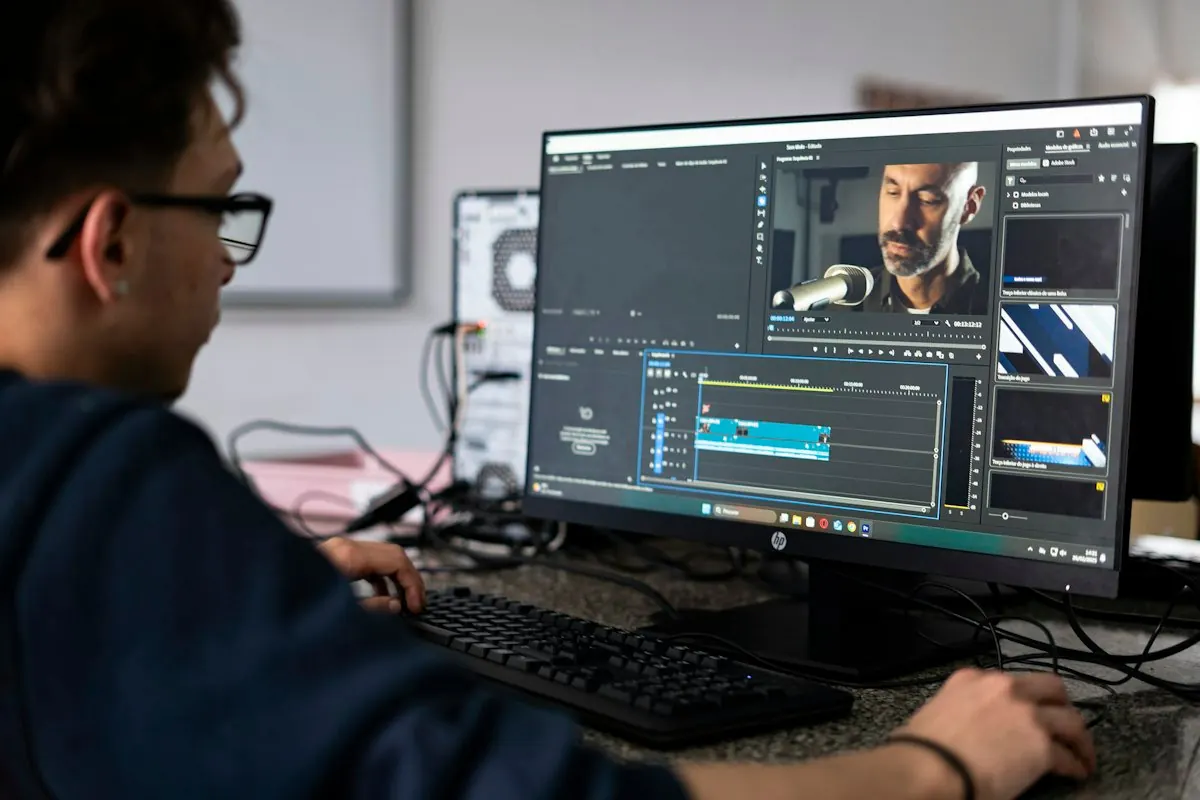
Place the approved song on the timeline first and protect its position. Line up the scratch audio by waveform where available, then check a distinctive syllable or consonant in the image. Adobe’s Premiere timeline sync documentation describes available synchronisation points. Use a manual cue when the recorded waveform is too quiet, distorted or similar to another chorus.
Check three spots in every important take: near the start, around the middle and toward the end. If the error is roughly the same each time, the clip probably needs a simple position correction. If the gap steadily grows, check playback speed, footage interpretation, frame rate and whether the right master was used. A sudden jump can come from a missing portion of the clip or the wrong repeated phrase. Work out which pattern you are seeing before changing speed.
If the timing reference is correct but the performance itself varies, choose the strongest angle rather than forcing every frame into place. A brief cutaway can conceal a mismatched breath. An alternate take can rescue a clear consonant without creating unnatural motion. Keep editorial changes reversible and compare them at full playback speed. A frame that looks slightly unusual when paused may be fine in motion, while a recurring late mouth shape can be distracting in the actual cut. If you are mixing performance with CG shots, coordinate those review points with the music video VFX guide.
Review the actual release file
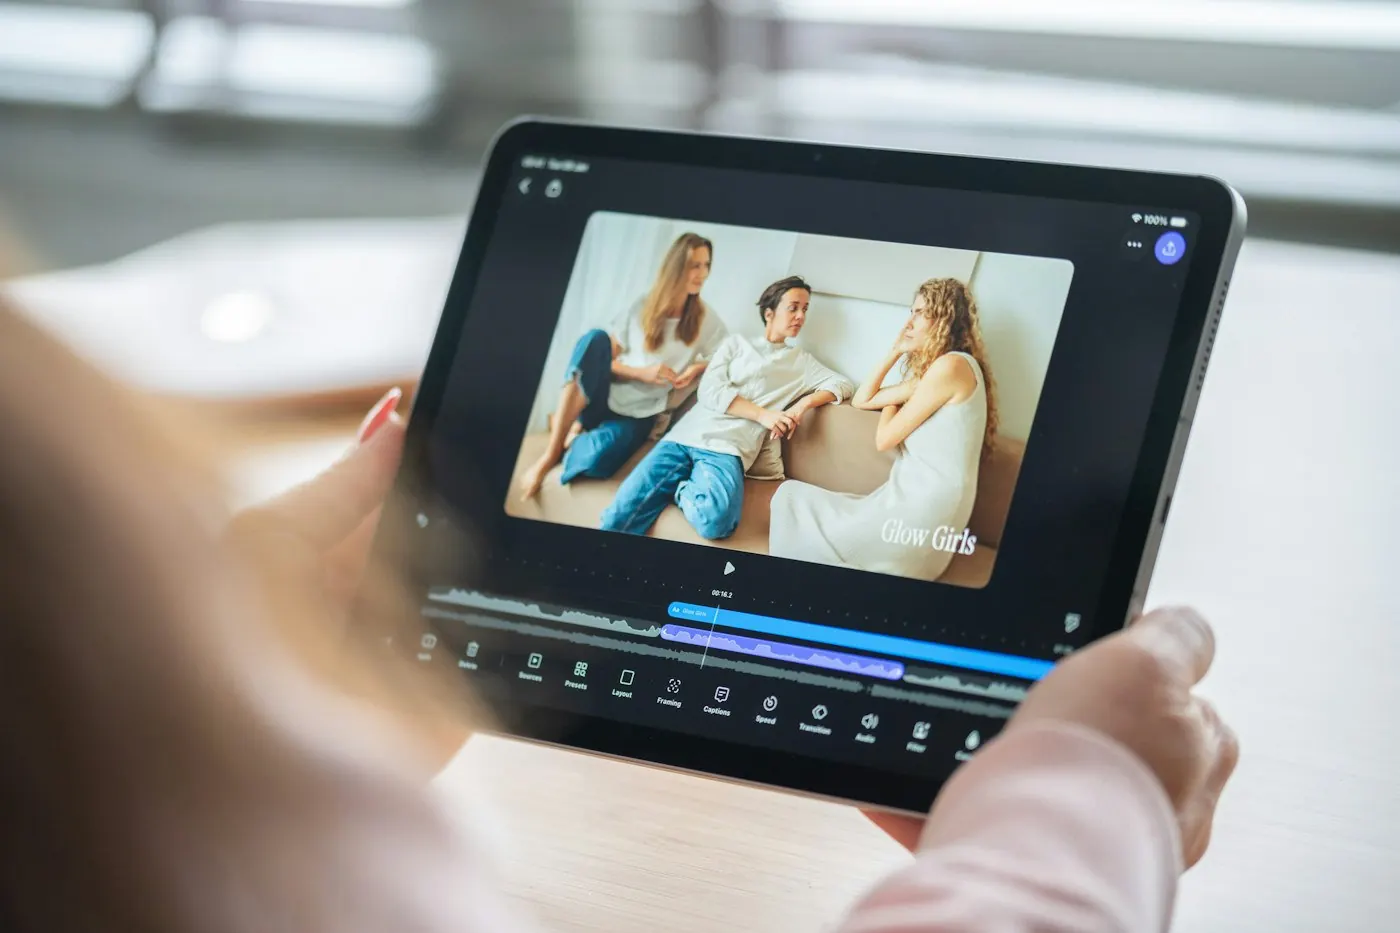
Watch a rendered copy instead of signing off only inside the editing timeline. Start with speakers or wired headphones so wireless delay does not confuse the diagnosis. Check exposed close-ups, pickups that use a different cue and shots that include speed effects. Then watch the planned vertical crop, where a tight composition may make a minor sync issue easier to notice.
Use one shared review copy with timestamps and identify the exact lyric in each note. “At 01:12, the first word of the chorus appears late” gives the editor a better starting point than “the chorus feels off.” Separate performance sync, music edits and picture notes so one fix does not accidentally undo another. Keep the playback master and the delivered audio version in the handoff record.
Before release, confirm the master starts where expected and that a platform-specific cut uses the same sync decisions. If the social version opens on a later chorus, test that exact render again. For the wider timeline, see the music video production process and distribution guide. If you’re preparing a performance shoot, share the track, references and planned formats with Mimic Music Videos.
Take a song with a whispered first verse and a chorus that doubles the lead vocal. Record a close-up test of both sections before locking the shot plan. The whisper may need an earlier cue so the artist can prepare the breath. On the chorus, make it clear which vocal the artist should follow if the master contains overlapping lines. The camera and playback teams can then label each pickup with the intended lyric instead of expecting the editor to work out which mouth shape belongs to which layer.
An editor can build a simple check sequence with three angles over the same chorus and switch between them at the lyric markers. If one angle looks right at every marker and another drifts, compare the capture and playback notes before changing the timeline. If all angles are consistently late in the exported copy but look right inside the edit, check the export and playback setup as a separate problem. This saves time by keeping recording, editorial and review errors from being treated as the same issue.
Frequently asked questions
What is music video lip sync?
It is the alignment of the performer’s visible mouth movements with the recorded vocal used in the finished video. The performer normally sings or mouths along to the approved playback track during filming.
Should the artist actually sing on set?
Singing can help performers match breathing and articulation, but the right approach depends on the setup and the artist. The studio master generally supplies the final audio. Let the artist hear a test and decide what produces the most convincing take.
Can I use Bluetooth headphones to check sync?
Use wired headphones or speakers for an initial timing check. Bluetooth playback can introduce device-dependent latency that makes a correctly aligned file appear late or early. Verify the exported file in a second setup before shifting clips.
Why does the end drift if the first line matches?
A growing offset points to a speed, interpretation or timing problem. Compare the original cue and frame-rate settings first. Moving the clip alone can fix one word while leaving the rest of the take misaligned.
Does timecode guarantee a good lip-sync performance?
Timecode can help align recordings when the workflow is configured correctly. It cannot correct a singer who entered late or performed a different phrasing. Check the visible performance against the approved vocal.
Should every angle cover the full song?
A full performance gives editorial flexibility, but it is often enough to shoot targeted pickups for other angles. Leave enough lead-in and follow-through so the editor has room around the intended cut.
What if there is no scratch audio?
Use a slate, visual cue, recorded playback feed from another device or a clear mouth shape to align manually. Check several points instead of relying on one consonant. Record a stronger reference on subsequent takes if possible.
What should the editor receive?
Send original footage, the approved master, playback cues, take notes and any speed or frame-rate instructions. Include a list of the lines intended for close-ups and separate any alternate mix so it cannot be mistaken for the master.
Conclusion
The most useful production decision is to settle playback early and make every take traceable to the approved track. Keep a full performance for editorial continuity, use pickups for the lyrics that matter, and check the exported close-ups against the actual master. For a mixed live-action and CG production, put the intended close-ups and review milestones into the brief before the shoot.